
Since: 05-08-18
From: Planet Earth
|
This is a tutorial on how to make your own custom Super Mario Maker clapperboards.
Requirements
- An image editing program
- Layout.pack (Located inside your Pack folder)
- Images that you want to replace the clapperboard with
- Wexos Toolbox (Download on the right-hand side)
- Switch Toolbox
- Open Layout.pack with Wexos Toolbox , double click "Layout.pack" & go to "Edit" then "Search"
- Type in "Layout/Cmn_ClapperboardBtn_00.szs" & Press "OK"
- Right-click the file and press "Export"
- Navigate to where you want to save your file.
- NOTE: Before you press "Save", find the "File name" on the save window, & delete "Layout/" from the name. Wexos will not let you save until you do this.
- Open the exported file & export the .arc file.
- Open the exported .arc file and export the following files:
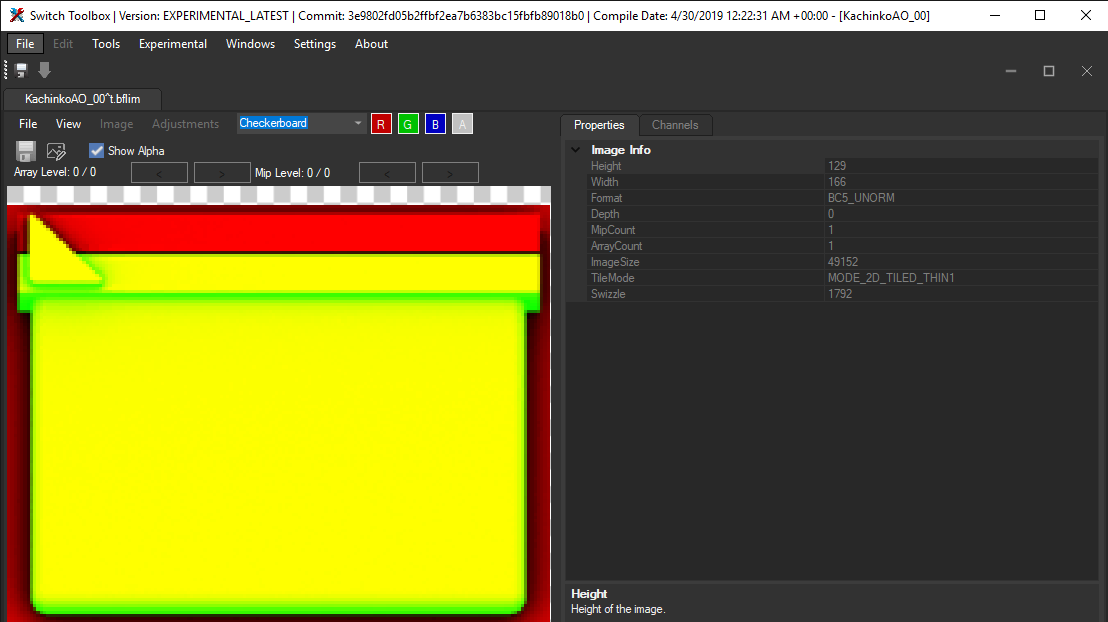
- 1. timg/KachinkoAO_00^t.bflim
- 2. timg/KachinkoBeauty_00^t.bflim
- 3. timg/KachinkoAO_01^t.bflim
- 4. timg/KachinkoBeauty_01^t.bflim
AO = Ambient Occlusion (Tells the file which parts are light, and which parts are dark. (Like the Edges))
Beauty = The Base Color Maps
- Open "KachinkoAO_00^t.bflim" with Switch Toolbox, you should see this:
- Press "File" then "Export" on the Top, Left-Hand corner of the window.
- NOTE: There are two "File"s in Switch Toolbox, press this one:
- Save it as a PNG to wherever location you want (Make sure the ending of the filename is ".png" not ".bflim"
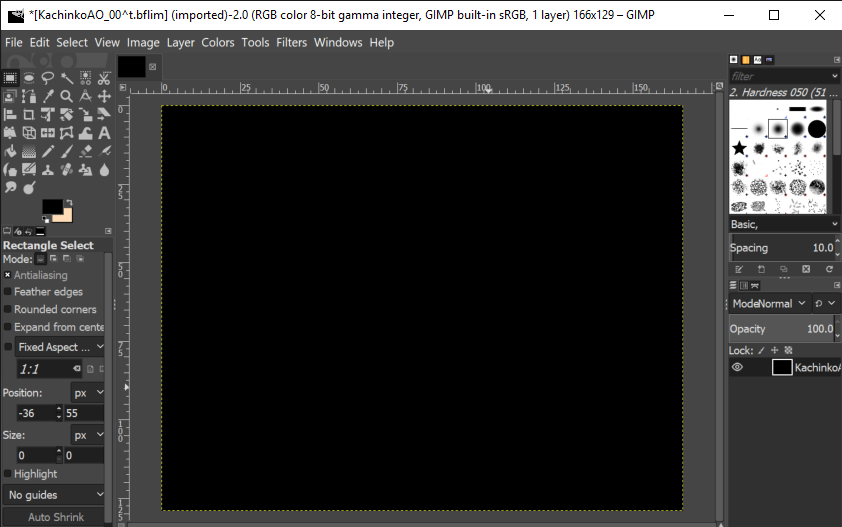
- Edit it with GIMP (Or any other image editing program) & make the entire image Black.
- Overwrite the image.
- Open "KachinkoBeauty_00^t.bflim" with Switch Toolbox & repeat step 8.
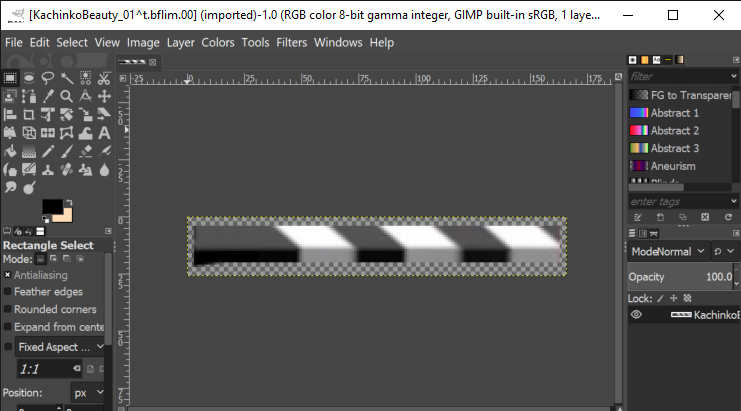
- Open the file with your image editing program & change it to look how you want it to.
- Save the image then repeat steps 7 - 11 but with "KachinkoAO_01^t.bflim"
- Repeat steps 12 - 13 but with "KachinkoBeauty_01^t.bflim"
- In Switch Toolbox open "KachinkoAO_00^t.bflim" & press "File" then "Replace".
- Navigate to the PNG & double-click it.
- Save it as the settings shown here:
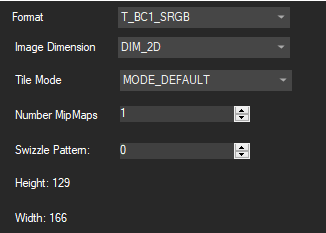
- Press "OK", then "File", "Save" & Replace the original BFLIM.
- Repeat steps 16 - 19, but with "KachinkoAO_01^t.bflim", "KachinkoBeauty_00^t.bflim", & "KachinkoBeauty_01^t.bflim"
- Replace all 4 BFLIM's in "Cmn_ClapperboardBtn_00.arc" in Wexos Toolbox.
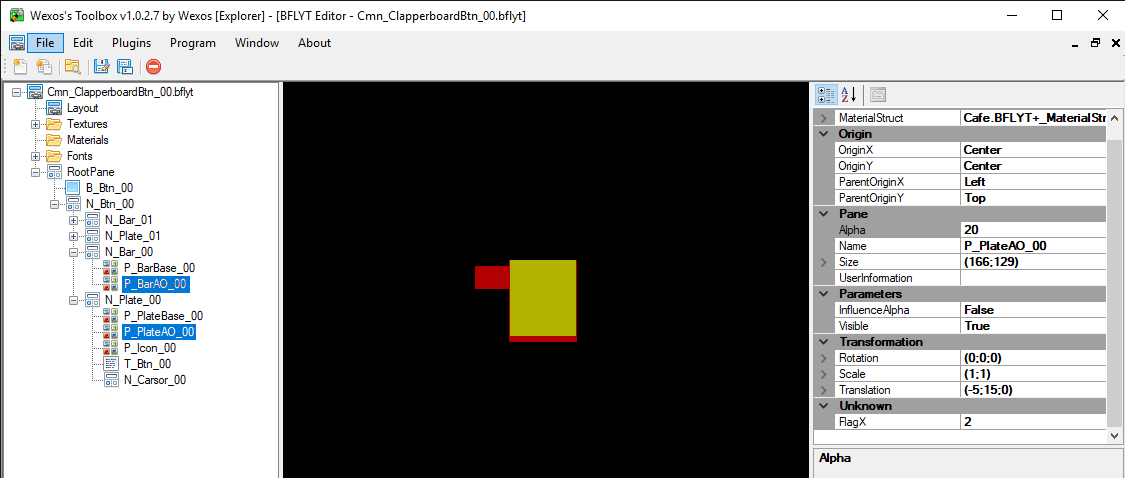
- In Wexos Toolbox, export "blyt/Cmn_ClapperboardBtn_00.bflyt"
- Open the BFLYT in Wexos Toolbox & Delete "P_PlateAO_00" & "P_BarAO_00" (Right click, then Remove)
- Save the BFLYT & Import into .arc
- Save .arc
- Replace .arc in .szs
- Save .szs
- Replace .szs in "Layout.pack" & Save "Layout.pack"
- Boot SMM with Cemu or with SDCaffeine on your Wii U
- Done! You have successfully made your own Clapperboard.

|
|
blarg
|
|
Since: 05-08-18
From: Planet Earth
|
why has no one commented here?
|
|
Posted on 08-16-19, 11:04 pm
blarg
|


