
Since: 05-08-18
|
A Kramer Randomness. I have already started trying to import it. |
|
Posted on 11-04-18, 06:17 pm
in smm wii u Moved Acorn Plains BG (rev. 2 by
The Mario Modder on 11-04-18, 06:20 pm) |

Since: 05-08-18
|
This is my 3DS Port of WillyMaker's NSMBU Negative Overworld Theme. But it reversed a LOT more things like Mario, Arrowsign Board, Enemies, CLOUDS, Coins, Items, etc. Unfortunately, I couldn't get the music to work. Also note: Not all Enemies are Reversed, and some of them might look normal in the Editor. The reason for that is because for some reason, MMFN3DS Uses 2 Copies of All Enemies and Objects. One for In-Game, and the other for Edit Mode. So, yeah. Enjoy!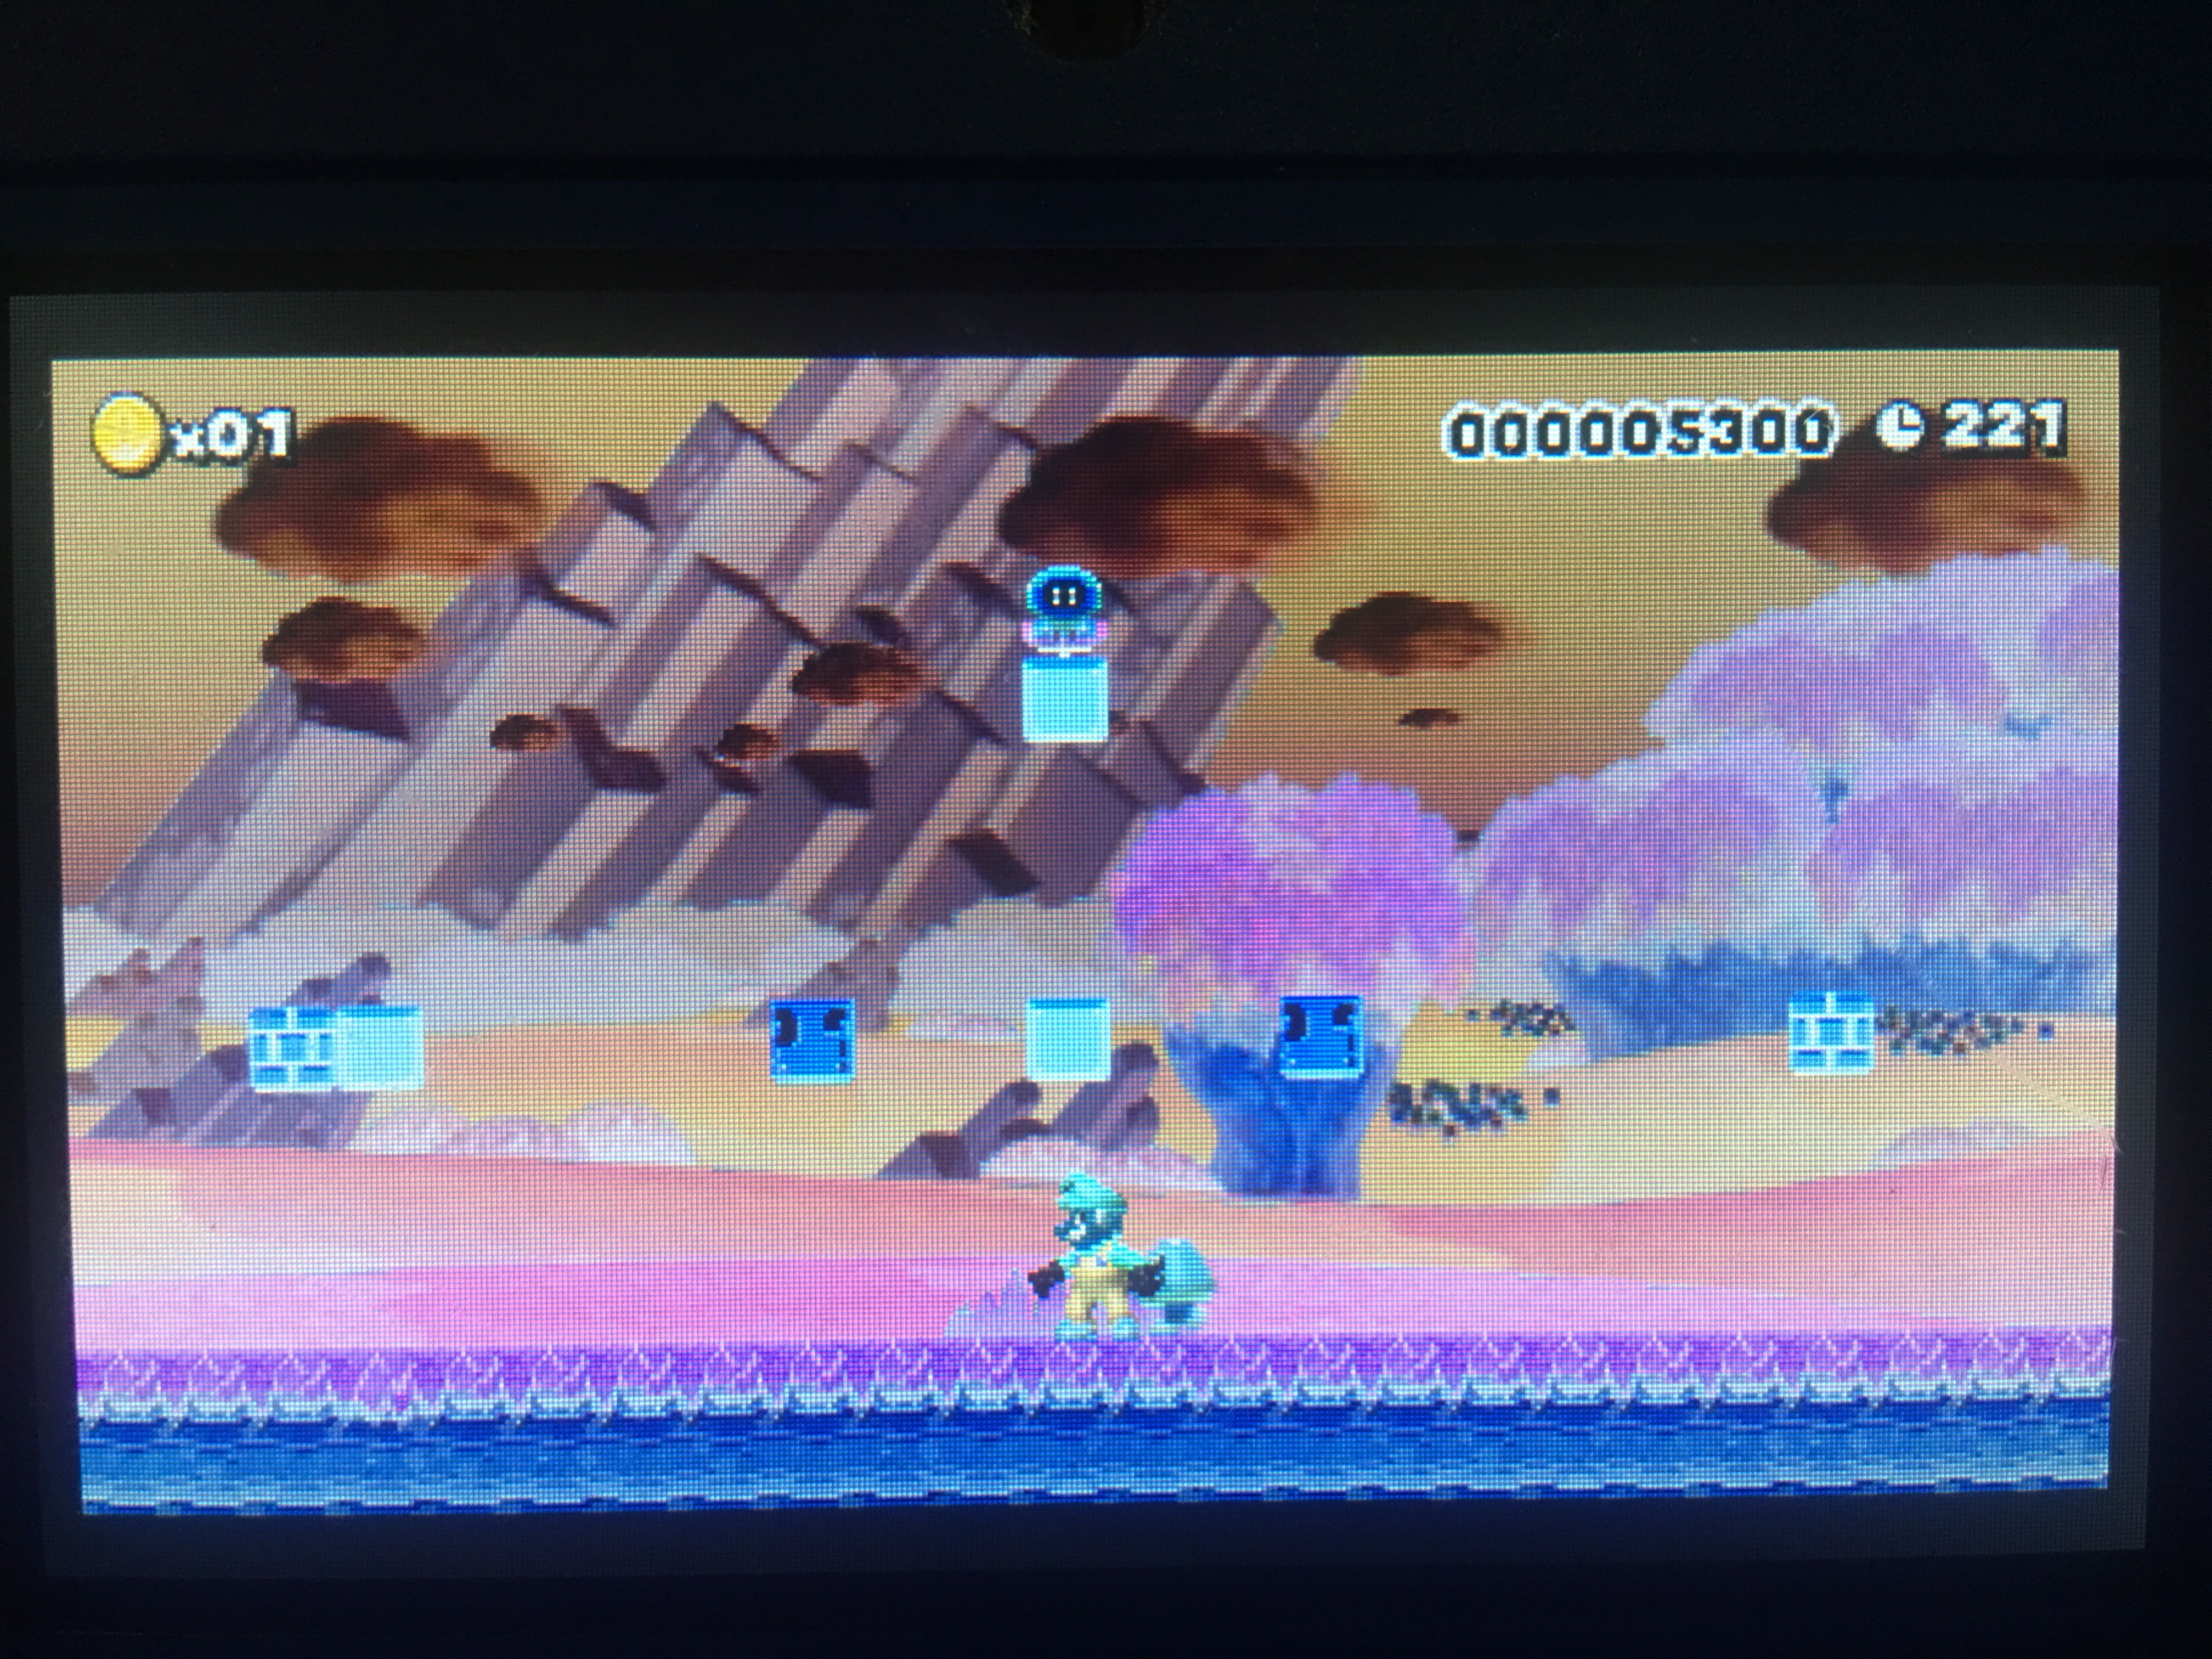 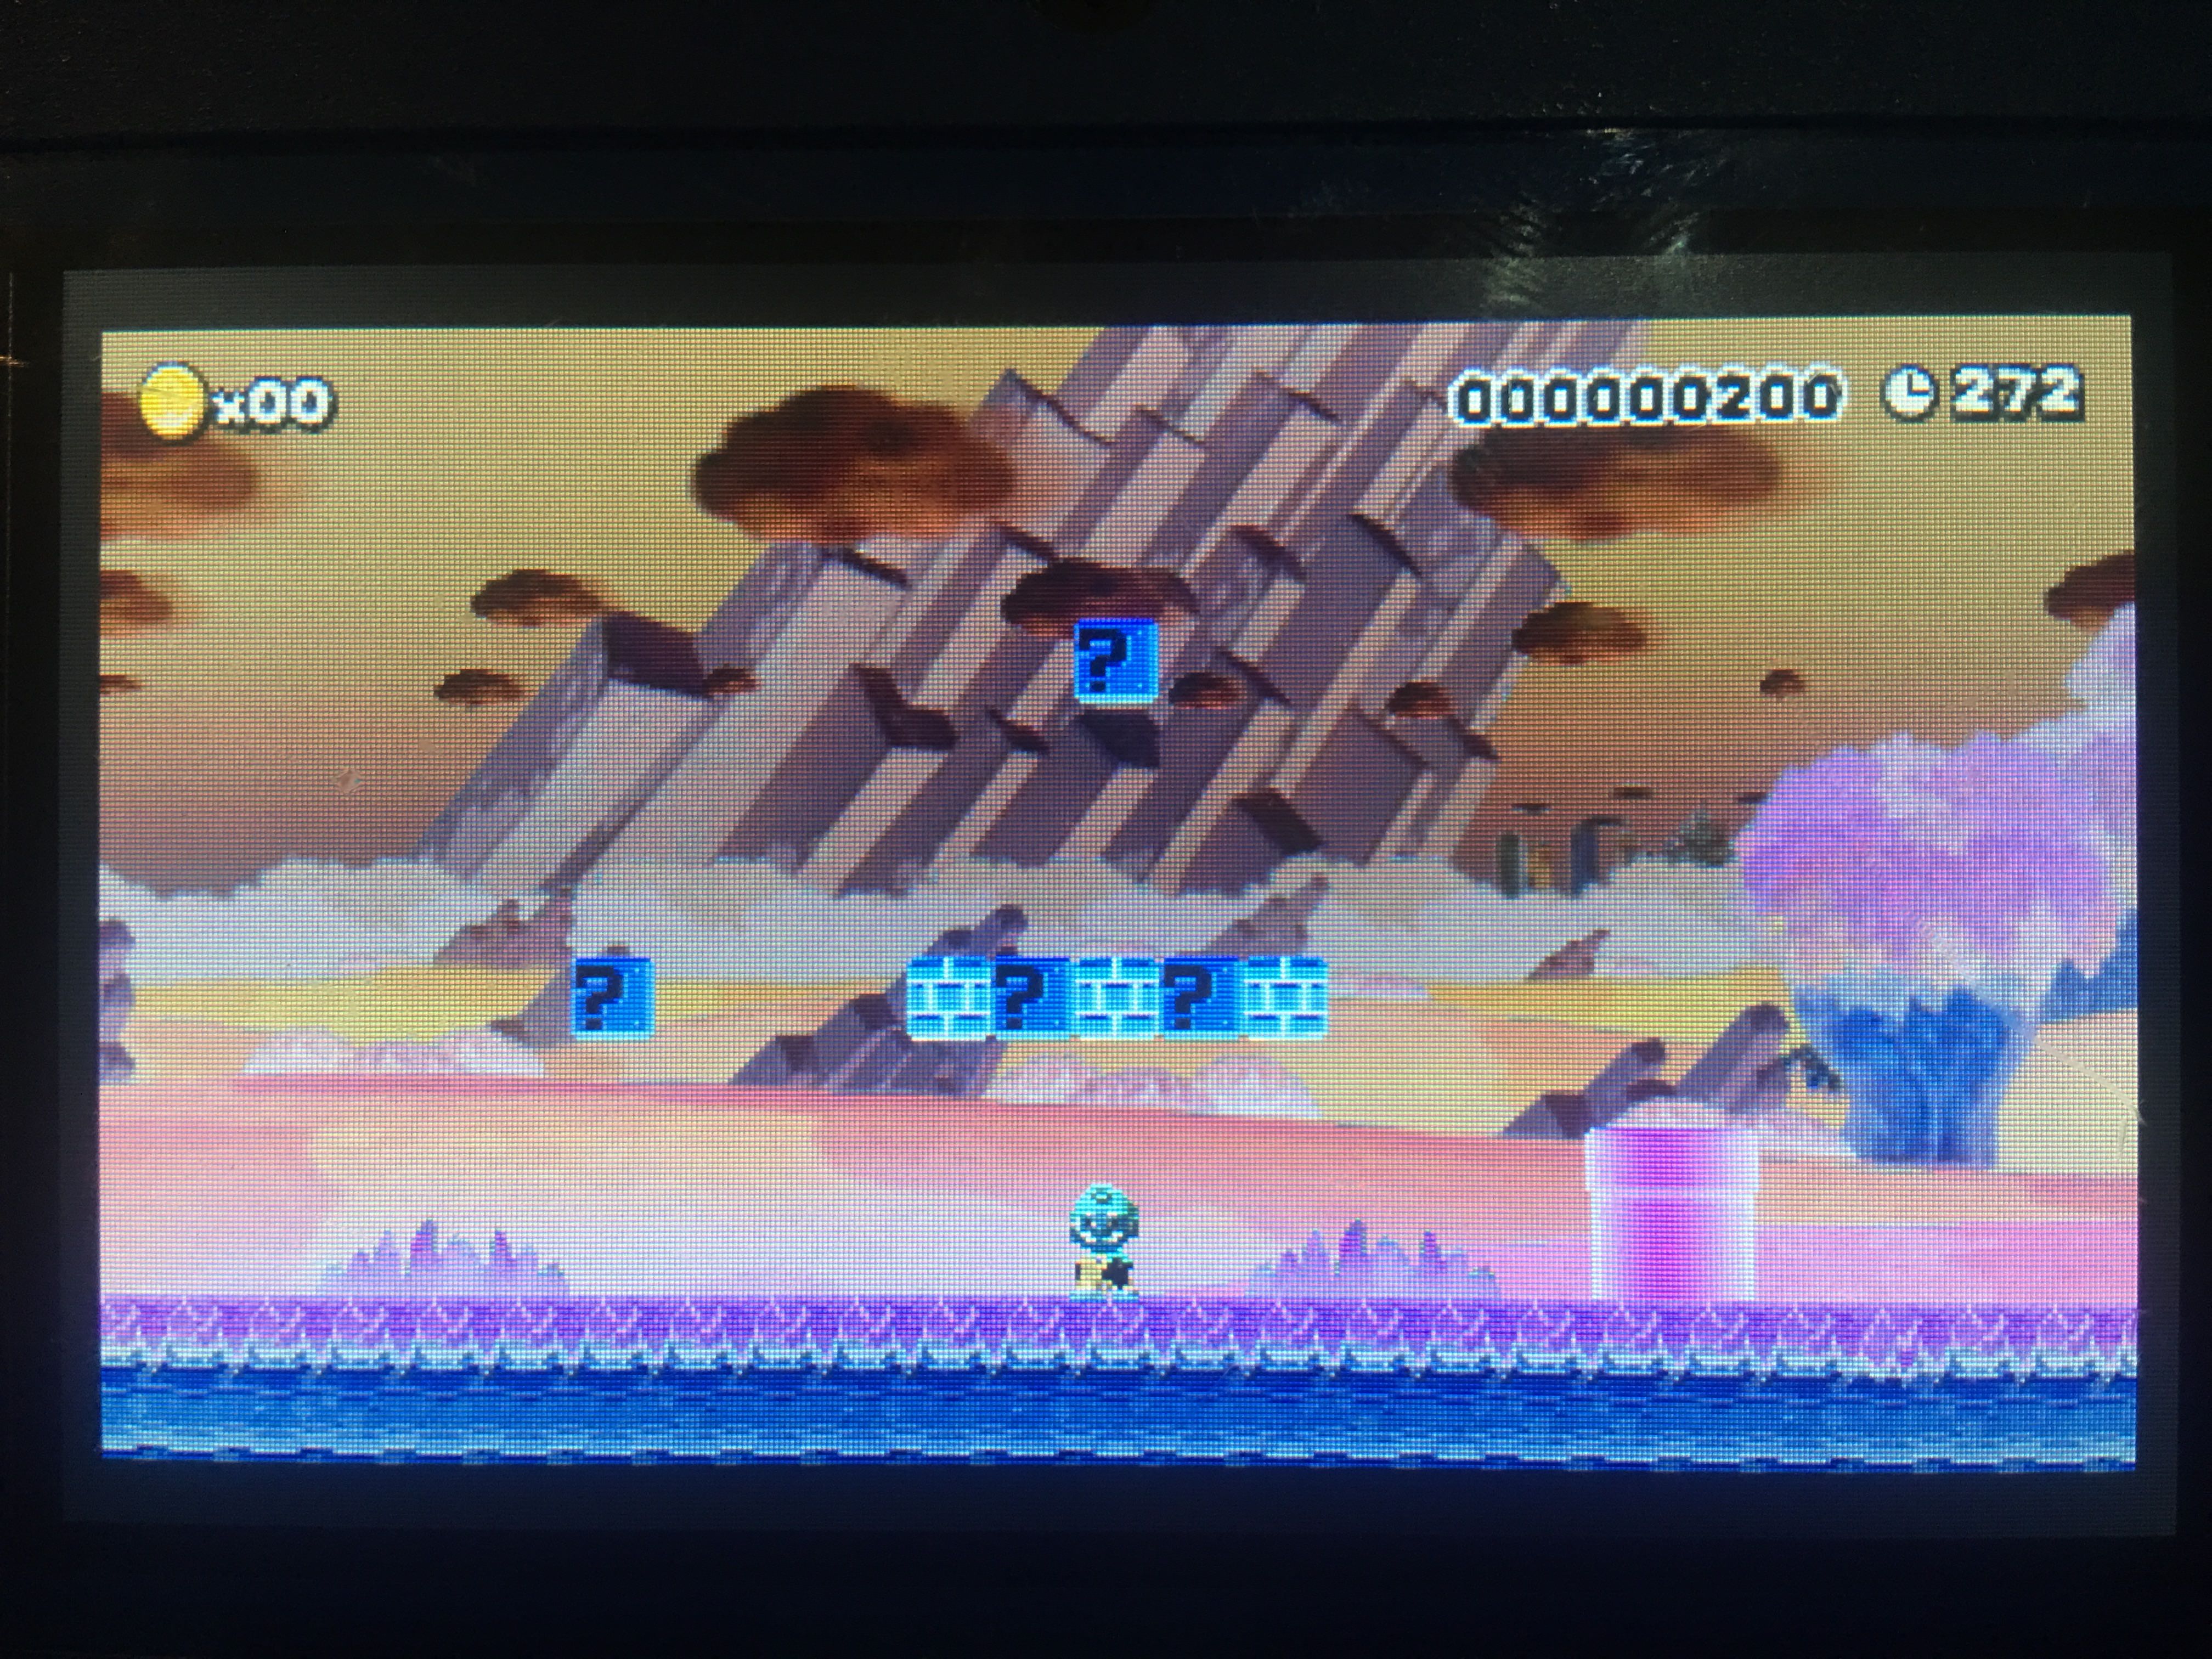 Link to WillyMaker's Wii U Mod: https://mariomods.net/thread/696-nsmbu-negative-overworld-theme Download https://drive.google.com/open?id=1ZyBMMUnQfvI1iJm-6rb_L-QQH9nXbNg5 |
|
Posted on 12-10-18, 12:01 am
in 3dsnsmbureverse mod NSMBU Reverse Mod (3DS Port) (rev. 2 by
The Mario Modder on 12-11-18, 12:28 am) |
Since: 05-08-18
|
Nice |
|
Posted on 12-19-18, 03:05 am
in NSMBWII Snow BG in Super Mario Maker
|
Since: 05-08-18
|
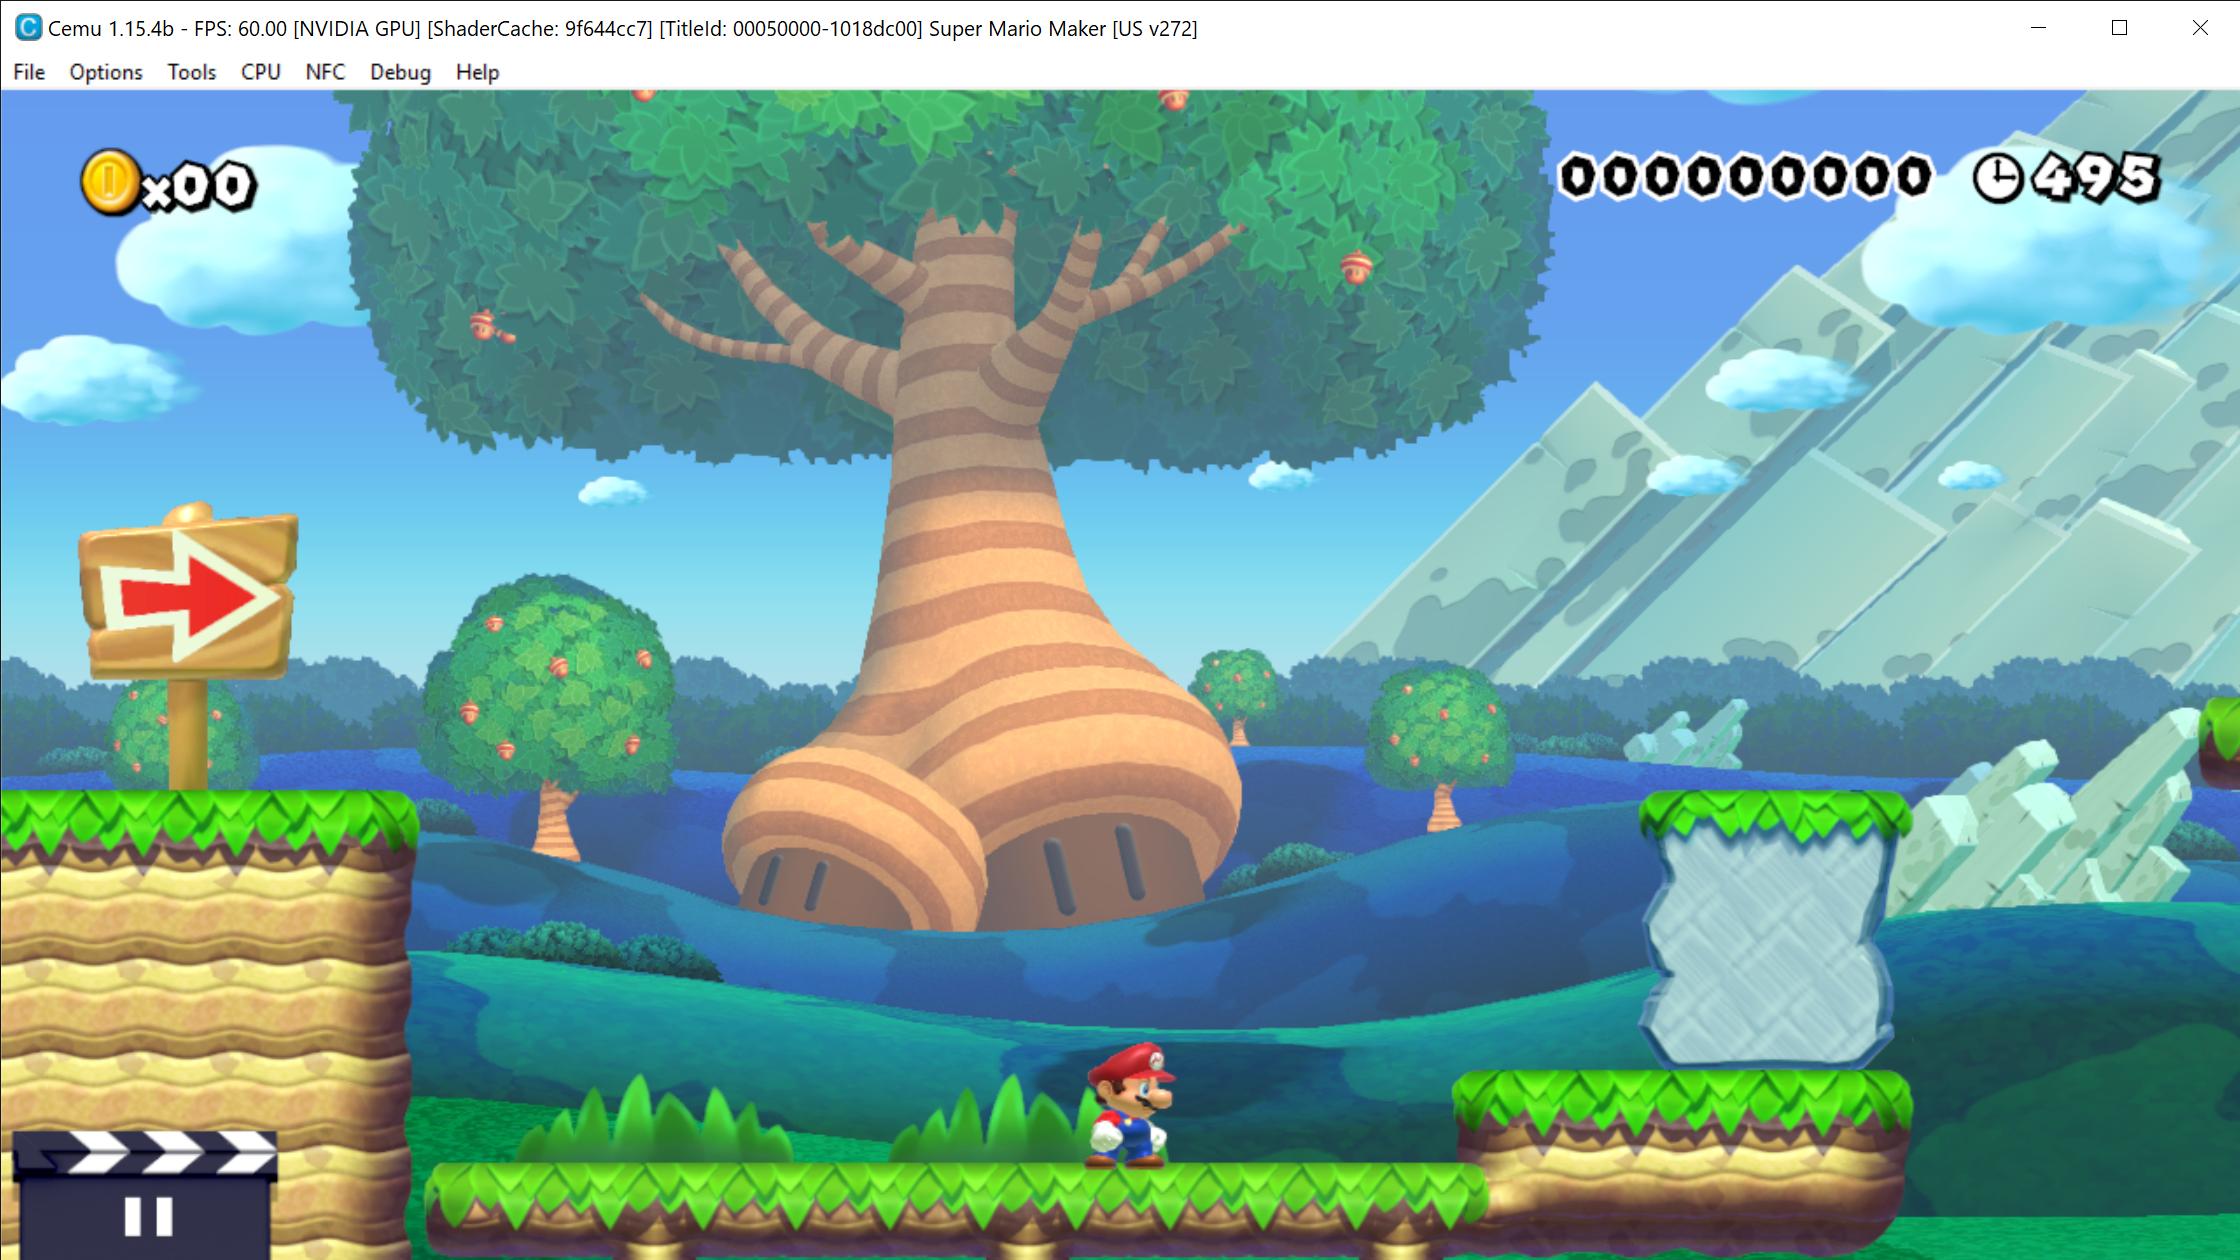 All I did was just add the NSMBU Acorn Tree into Super Mario Maker since it was removed in the final game. Probably due to size limitations. For Reference Here are the file sizes compared to their original counterparts (In BFRES). NSMBU = 6,434 KB SMM = 3,924 KB SMM w/ Tree (My Mod)= 3,874 KB This Mod was created using KillzXGaming's Switch Toolbox Download https://drive.google.com/open?id=18Z04E6lNVccZvkfMTrhIY_EWMLmss08- You will also need this file (Put it in the "Pack" Folder) : https://drive.google.com/file/d/1RS5BTvdXrQEZW8EPVvmkoixED8kb4-5E/view?usp=sharing Current Version: 2 |
|
Posted on 02-14-19, 12:49 am
in NSMBU Acorn Tree in Super Mario Maker (rev. 12 by
The Mario Modder on 04-30-19, 02:33 pm) |
Since: 05-08-18
|
Fixed so it doesn't crash...I hope. Still need to test it on Wii U. |
|
Posted on 02-20-19, 03:57 pm
in NSMBU Acorn Tree in Super Mario Maker
|
Since: 05-08-18
|
Download is broken. |
|
Posted on 03-12-19, 12:03 am
in smm wii u NSMBU Overworld 2 Background ported to SMM
|
Since: 05-08-18
|
Super Mario Maker New Super Mario Bros. DS, Wii, 2, U Mario Kart Wii, 7,8, 8 Deluxe Tetris 99 Super Mario Bros. , 2, 3 Cuphead ( Sorry Bun) Epic Mickey , 2 Super Mario 3D Land Super Smash Bros Ultimate. |
|
Posted on 04-19-19, 10:45 pm
in What is/are your favourite Videogame/s ?
|
Since: 05-08-18
|
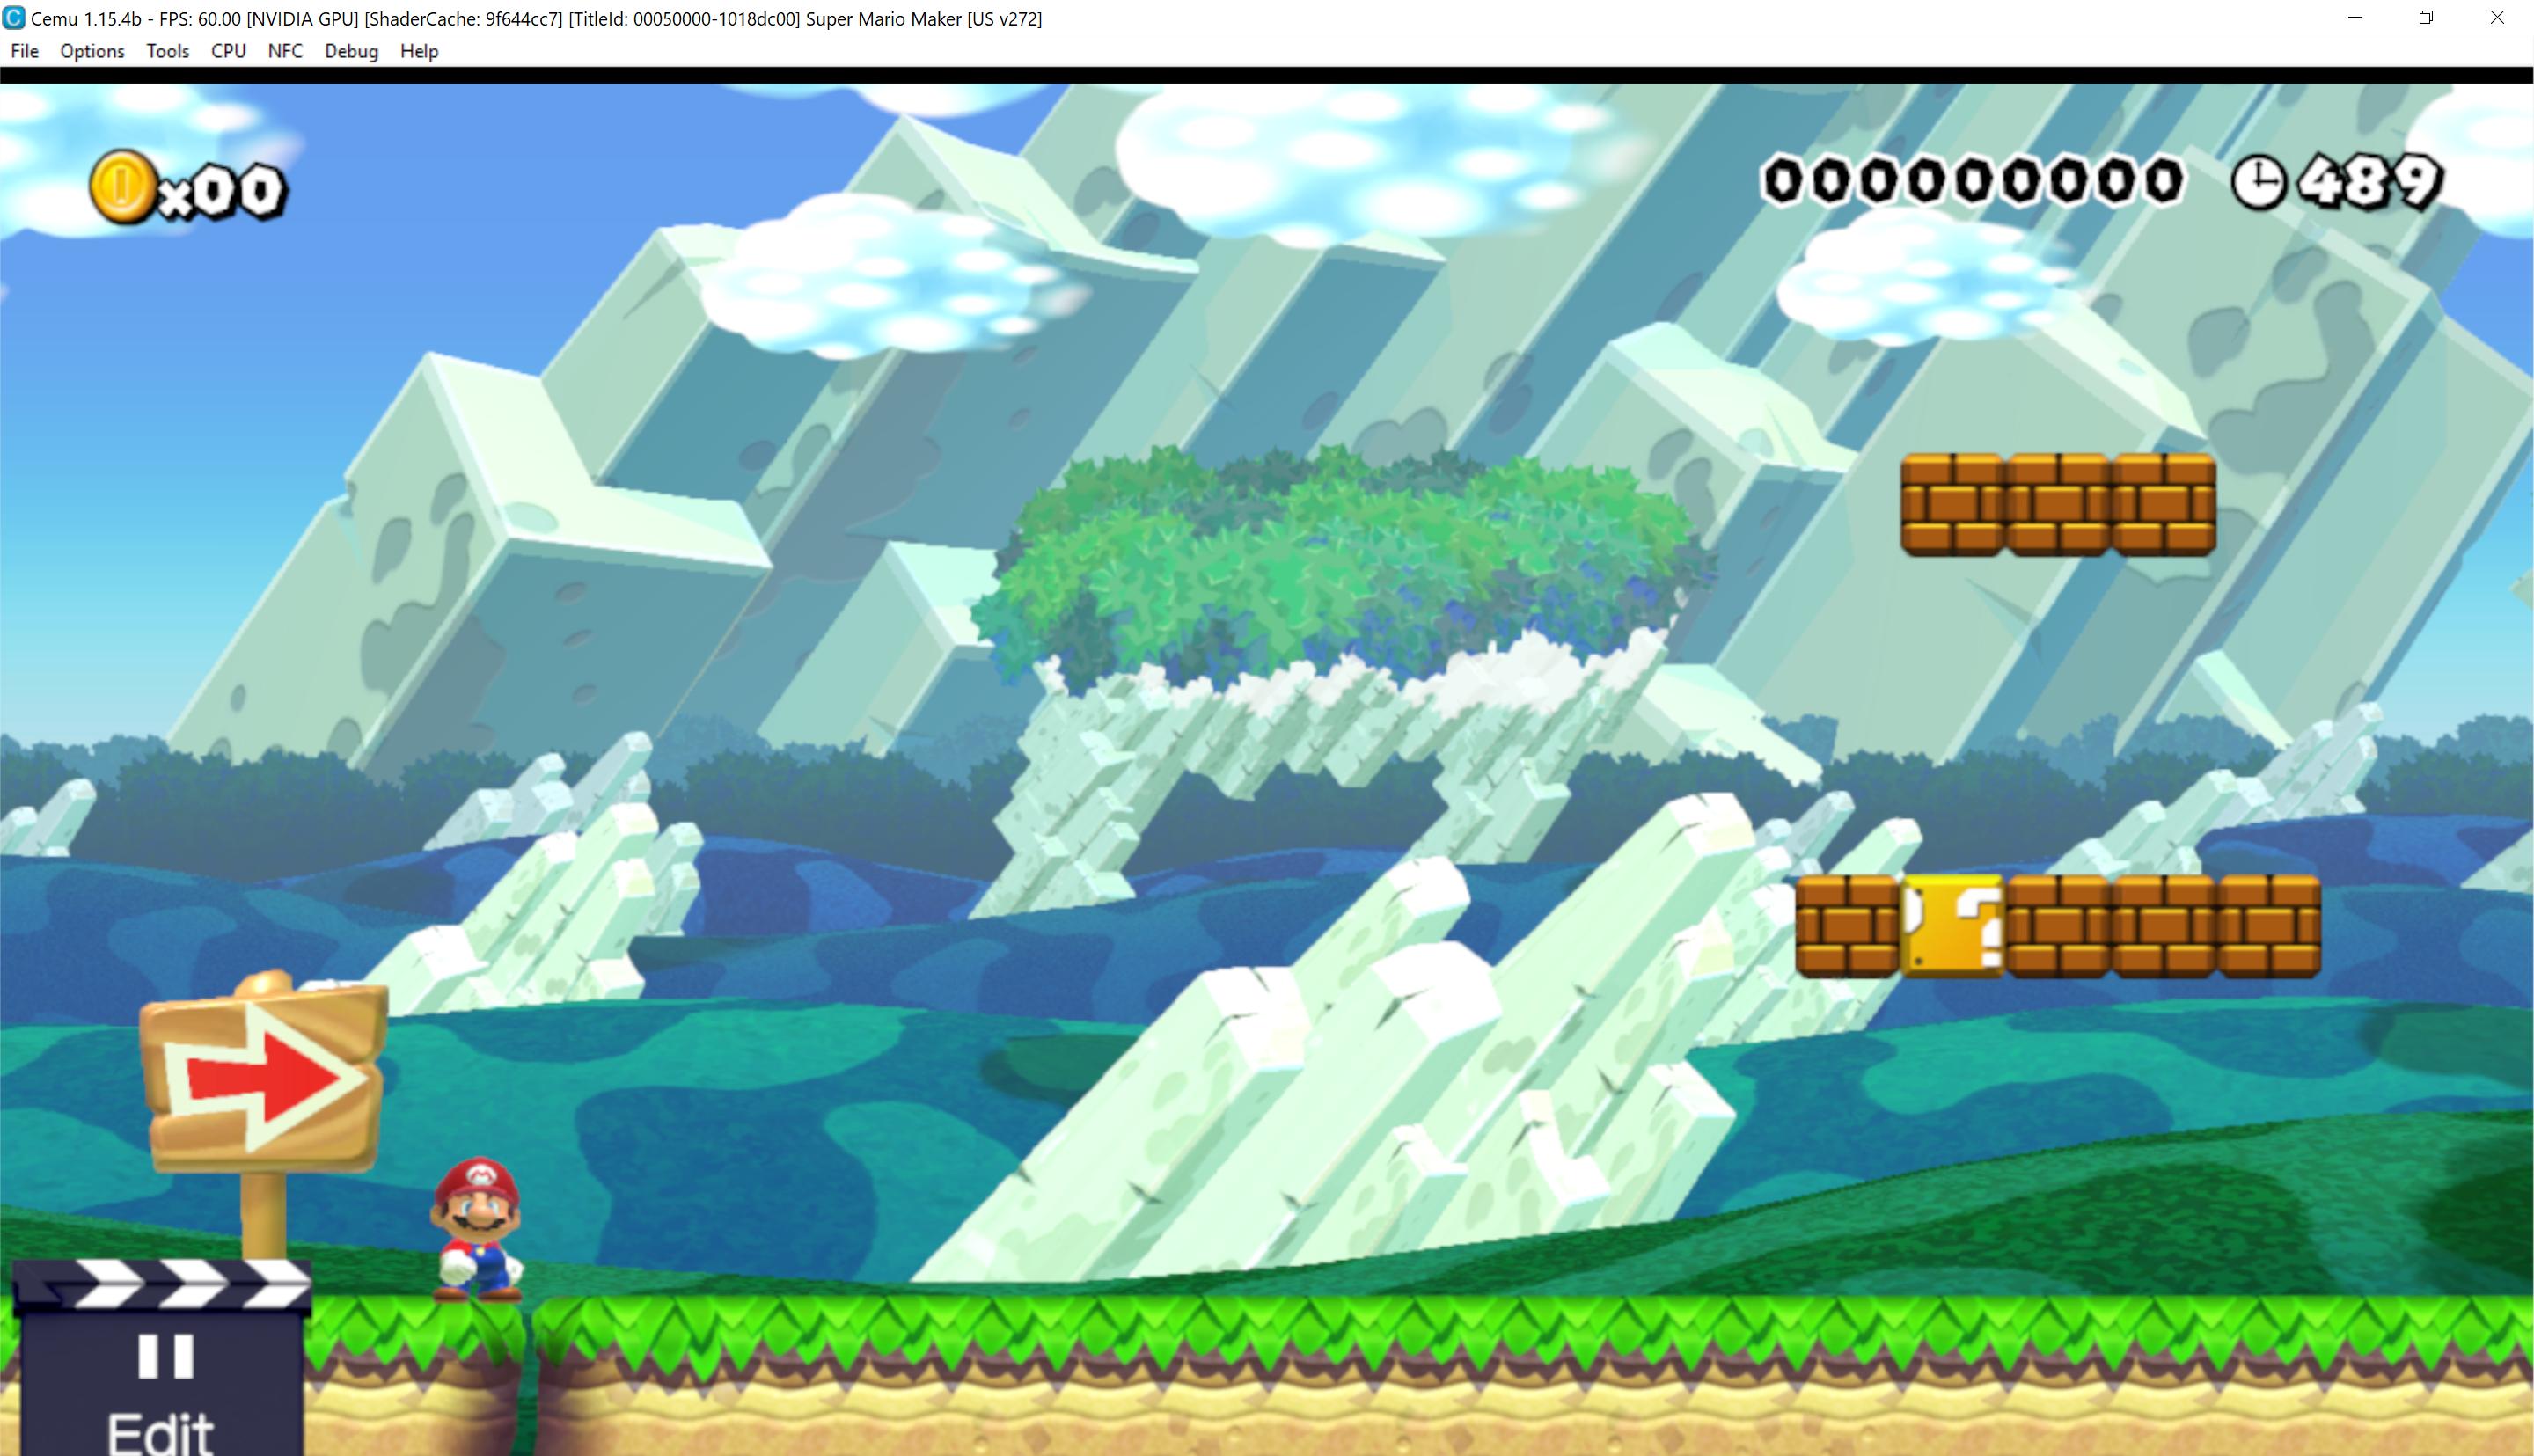 I know, I know, Willy already made a mod like this, but I wanted to make one with Vertex Colors. Yayyy Anyway, here are the downloads: Main: https://drive.google.com/open?id=1A5BaOXRirjOKW9sO5ZKM5jkLJb6mtnZI Credit to Willy for original idea. Also, PS: the clouds are weird. |
|
Posted on 04-23-19, 09:33 pm
in NSMBU Overworld BG 2 in SMM
|
Since: 05-08-18
|
nice, cant wait to try it out. |
|
Posted on 04-30-19, 12:25 am
in Modded RPX Files
|
Since: 05-08-18
|
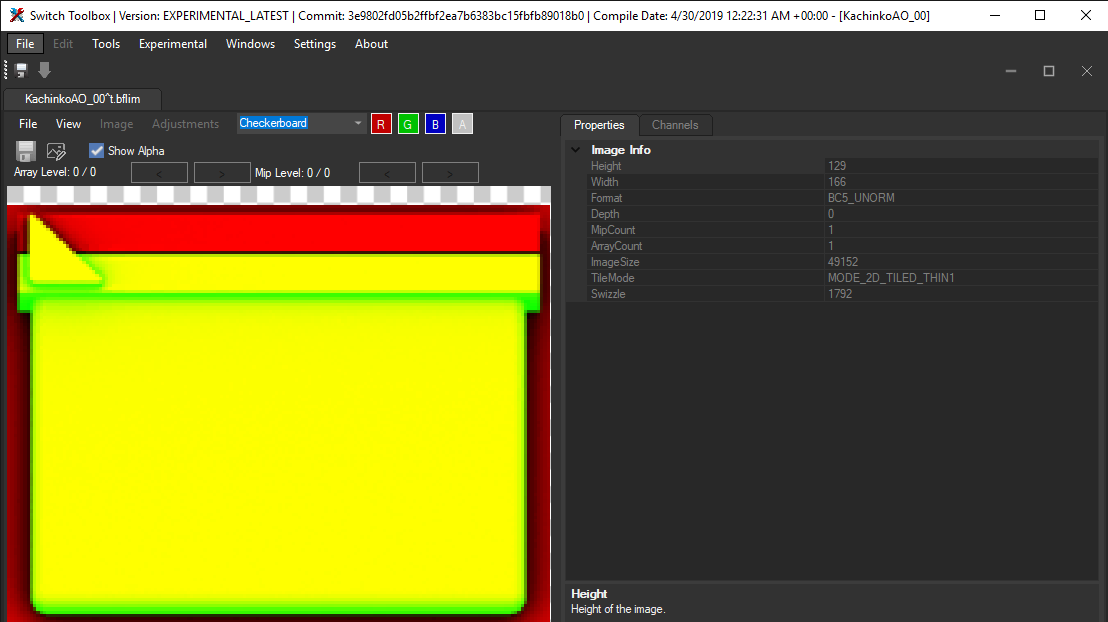
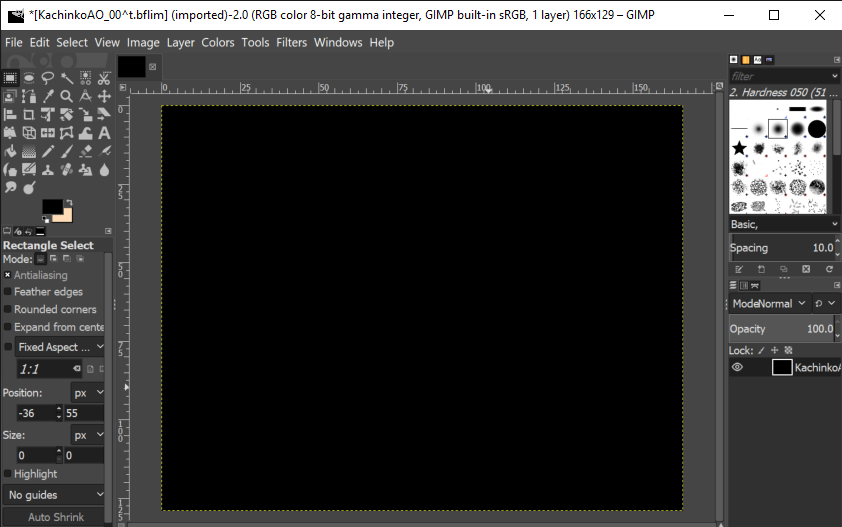
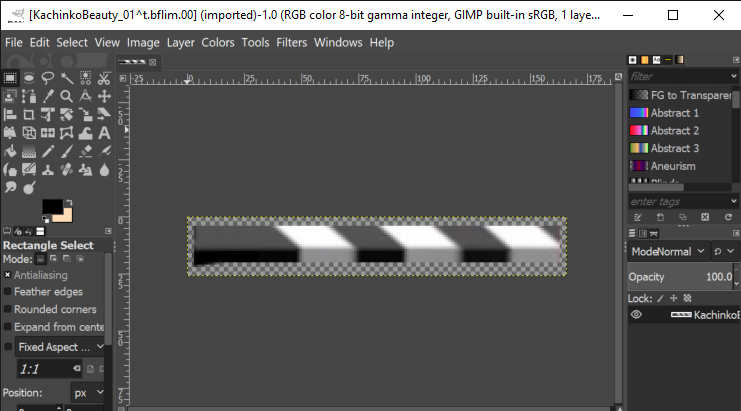
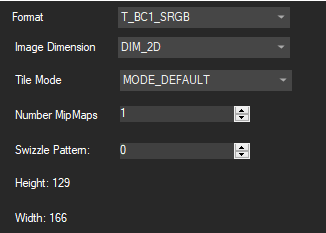
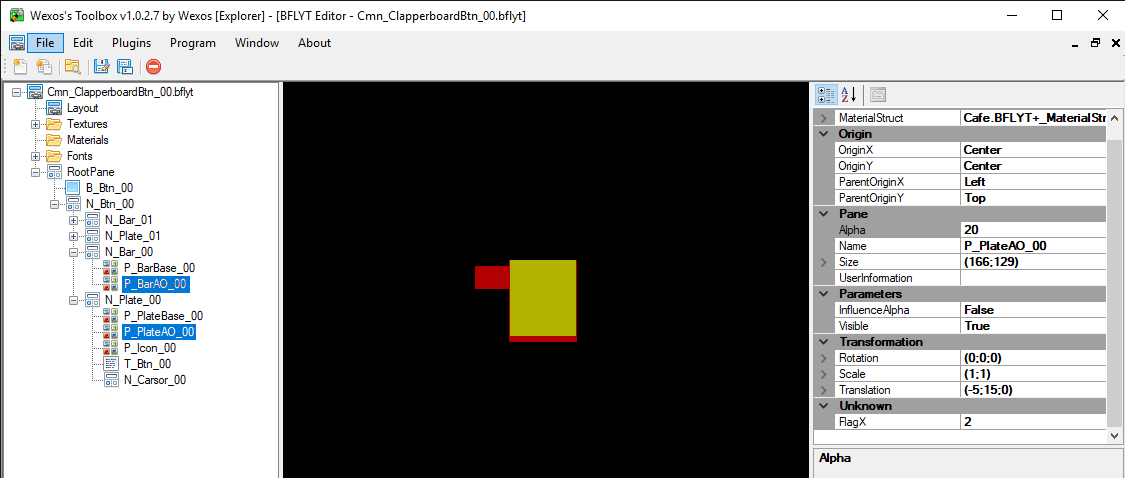
This is a tutorial on how to make your own custom Super Mario Maker clapperboards. Requirements
|
|
Posted on 04-30-19, 02:03 am
in Custom Clapperboard! (rev. 1 by
The Mario Modder on 04-30-19, 05:47 pm) |


Since: 05-08-18
|
Willy made the underground BG, I finished castle tileset & started underwater Tileset |
|
Posted on 05-02-19, 02:43 am
in New Super Mario Bros. Wii theme in Super Mario Maker/3DS/2
|
Since: 05-08-18
|
Check Willy's NSMBW for SMM Server |
|
Posted on 05-02-19, 03:14 am
in New Super Mario Bros. Wii theme in Super Mario Maker/3DS/2
|
Since: 05-08-18
|
What version of Mario Maker do you have? |
|
Posted on 05-10-19, 05:23 pm
in Problem Loading Custom Themes On Cemu
|
Since: 05-08-18
|
Nice |
|
Posted on 05-19-19, 04:36 pm
in smm wii u NSMBW Mountain Background in SMM
|
Since: 05-08-18
|
This tutorial (like it says in the title) will teach you how to edit the Boot Screen for Super Mario Maker. Tools you'll need. - WinSCP : Download - Wav2BTSND : Download - Paint.NET : Download - TGAVerify : Download -Wii U (with CFW and Homebrew) - FTPiiU_Everywhere (Download on Homebrew App Store) -WUP Installer GX2 (Download on Homebrew App Store) - Mocha CFW + FSHax (Download on Homebrew App Store) - Super Mario Maker Dump ( SMM Dumping Guide ) - Computer with Python 2.7 and Java Installed - Audacity : Download Additional Information. File Meanings bootDrcTex.tga = Boot image for Gamepad bootLogoTex.tga = Nintendo Logo (Presumably Unused) bootTvTex.tga = Boot image for TV iconTex.tga = Game Icon (for Home and Pause Menu) bootSound.btsnd = Boot Sound It is recommended that you have a unpacked version of Super Mario Maker on your computer. (The one that has the Code, Content, and Meta folder's) This guide will permanently replace the files in your Wii U's NAND. To prevent your Wii U from bricking if your file is corrupted, it is highly recommended to Backup your original files before you inject the edited ones into the NAND. You cannot use a Disk Version of Super Mario Maker. If you do, follow the following steps. If you downloaded SMM from the eshop, skip the following instructions.
2. Download disk2app for Homebrew using the Homebrew App Store. 3. Remove your Super Mario Maker Disk and launch disk2app 4. Follow the onscreen instructions. 5. When the program has dumped SMM, open WUP Installer and proceed to install SMM to the NAND of your Wii U.
|
|
Posted on 06-10-19, 02:28 am
in How to edit the Boot Screen (Textures + Sounds)
|

Since: 05-08-18
|
Should I do a Plants Vs Zombies Theme? |
| The Mario Modder |
Posted on 07-07-19, 06:37 pm, deleted by
#1172382390
The Mario Modder |
Since: 05-08-18
|
Accident |
|
Posted on 07-07-19, 11:18 pm
in New Super Mario Bros. Wii theme in Super Mario Maker/3DS/2
|
Since: 05-08-18
|
why has no one commented here? |
|
Posted on 08-16-19, 11:04 pm
in Custom Clapperboard!
|
Since: 05-08-18
|
Very Nice! |
|
Posted on 08-31-19, 04:17 pm
in nsmbu custom bg NSMBW Snow Background in NSMBU
|